How to Run SQL Server on a Mac: A Step By Step Guide
Updated
TL;DR
Table of Contents
SQL Server is not natively supported on macOS and thus, there is only one option to use it on macOS, and that is via Docker. In this tutorial, I will setup and configure SQL Server database on macOS via Docker, demonstrate how to connect to the database, and also show how to backup and restore the DB.
Setting up Docker
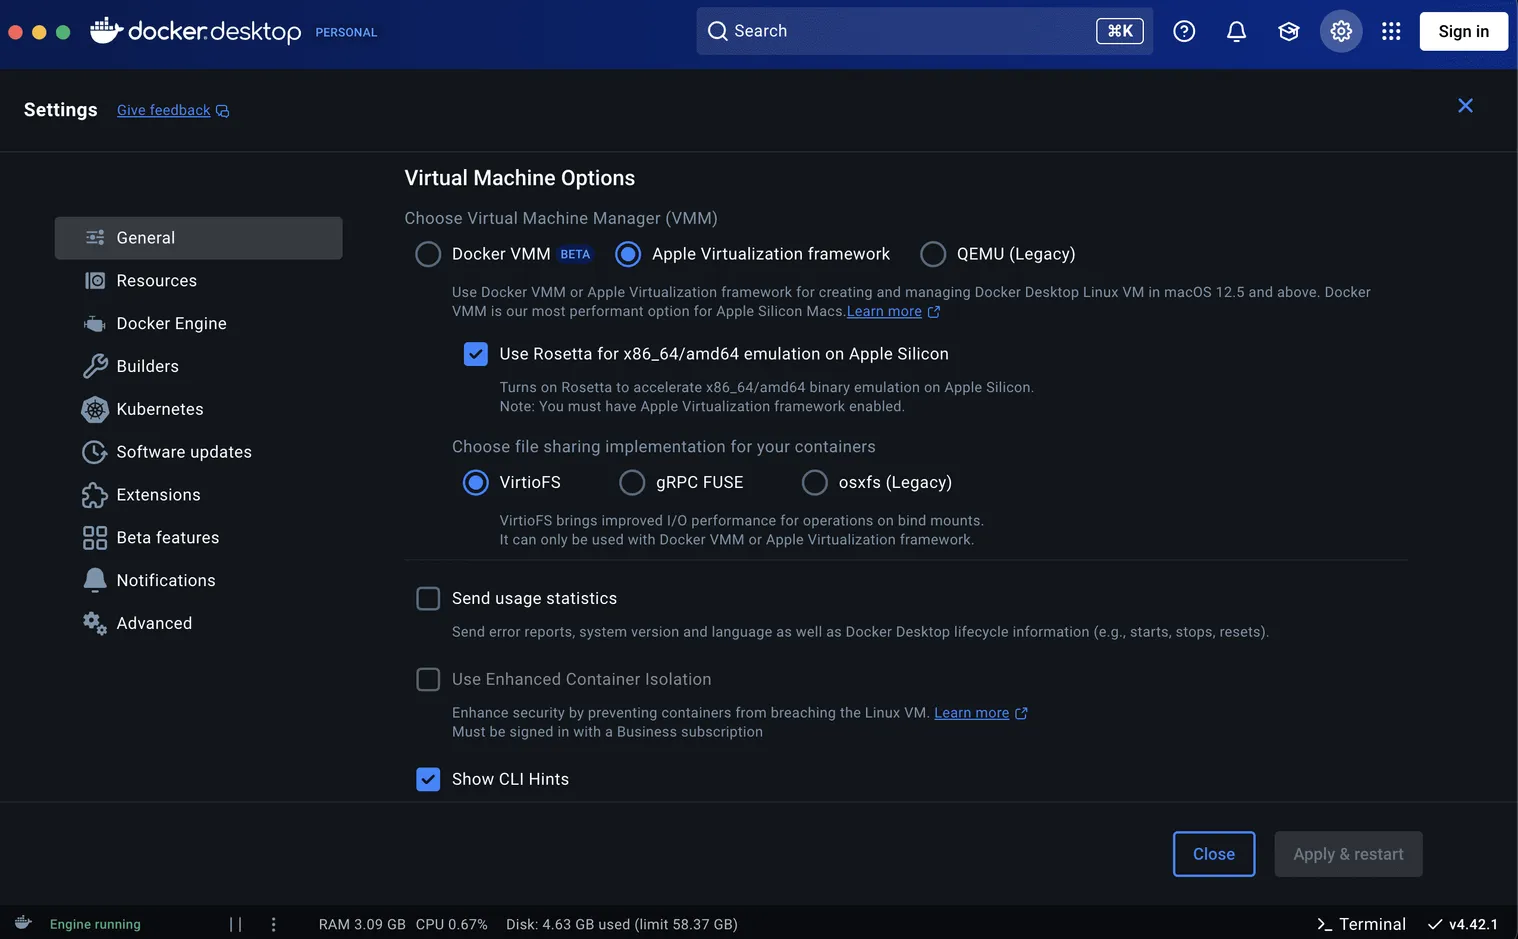
If you haven't already, install Docker Desktop on your system and make sure to enable the following option in Docker Desktop settings (General > Apple Virtualization framework > Use Rosetta for x86_64/amd64 emulation on Apple Silicon).
RECOMMENDED
New to Docker? Complete Guide To Docker
Pulling SQL Server Docker Image
Open the terminal of your choice and run:
docker pull mcr.microsoft.com/mssql/server:2022-latestThis will pull the latest SQL Server docker image from docker hub.
Running SQL Server Image in a Container
To run the docker image of SQL Server in a docker container, run the following command inside your terminal:
docker run -e 'ACCEPT_EULA=Y' -e 'MSSQL_SA_PASSWORD=<Strong_Password>' \
-p 8081:1433 --name sql-server-2022 --hostname sql-server-2022 \
-v <your_host_dir>/data:/var/opt/mssql/data \
-v <your_host_dir>/log:/var/opt/mssql/log \
-v <your_host_dir>/secrets:/var/opt/mssql/secrets \
-v <your_host_dir>/backups:/var/opt/mssql/backups \
-d mcr.microsoft.com/mssql/server:2022-latestACCEPT_EULAandMSSQL_SA_PASSWORDare environment variables. You must provide a strong password as per the password policy of SQL Server authentication.- The
-pflag is the port mapping of host and container ports. The default port at which SQL Server instance runs is 1433 which will be the port inside the container. So, port 1433 of the container will be mapped to port 8081 of the host machine (macOS). You can leave the port 1433 for the host as well, but I prefer to change it. nameandhostnameare container identifiers.-dwill ensure the container runs in a detached mode, meaning it won't block the terminal process, the terminal won't output anything except the container ID and the terminal process will exit.-vrepresents mounting a host machine directory as a data volume. In simple words, it's a way to persist data across multiple container instances. The data won't go away when you remove a container and the new container instance can access the data left behind by the old one. Replace<your_host_dir>with a directory of your choice (outside the container), for example,~/Documents/mssql/data.mcr.microsoft.com/mssql/server:2022-latestis the image identifier (name) which will run inside the container.
With that being done, SQL Server should now successfully run on your system.
Connecting (Accessing) the SQL Server Instance
To connect to the running SQL Server instance there are multiple tools which you can use. The best one to use is the mssql Visual Studio Code extension.
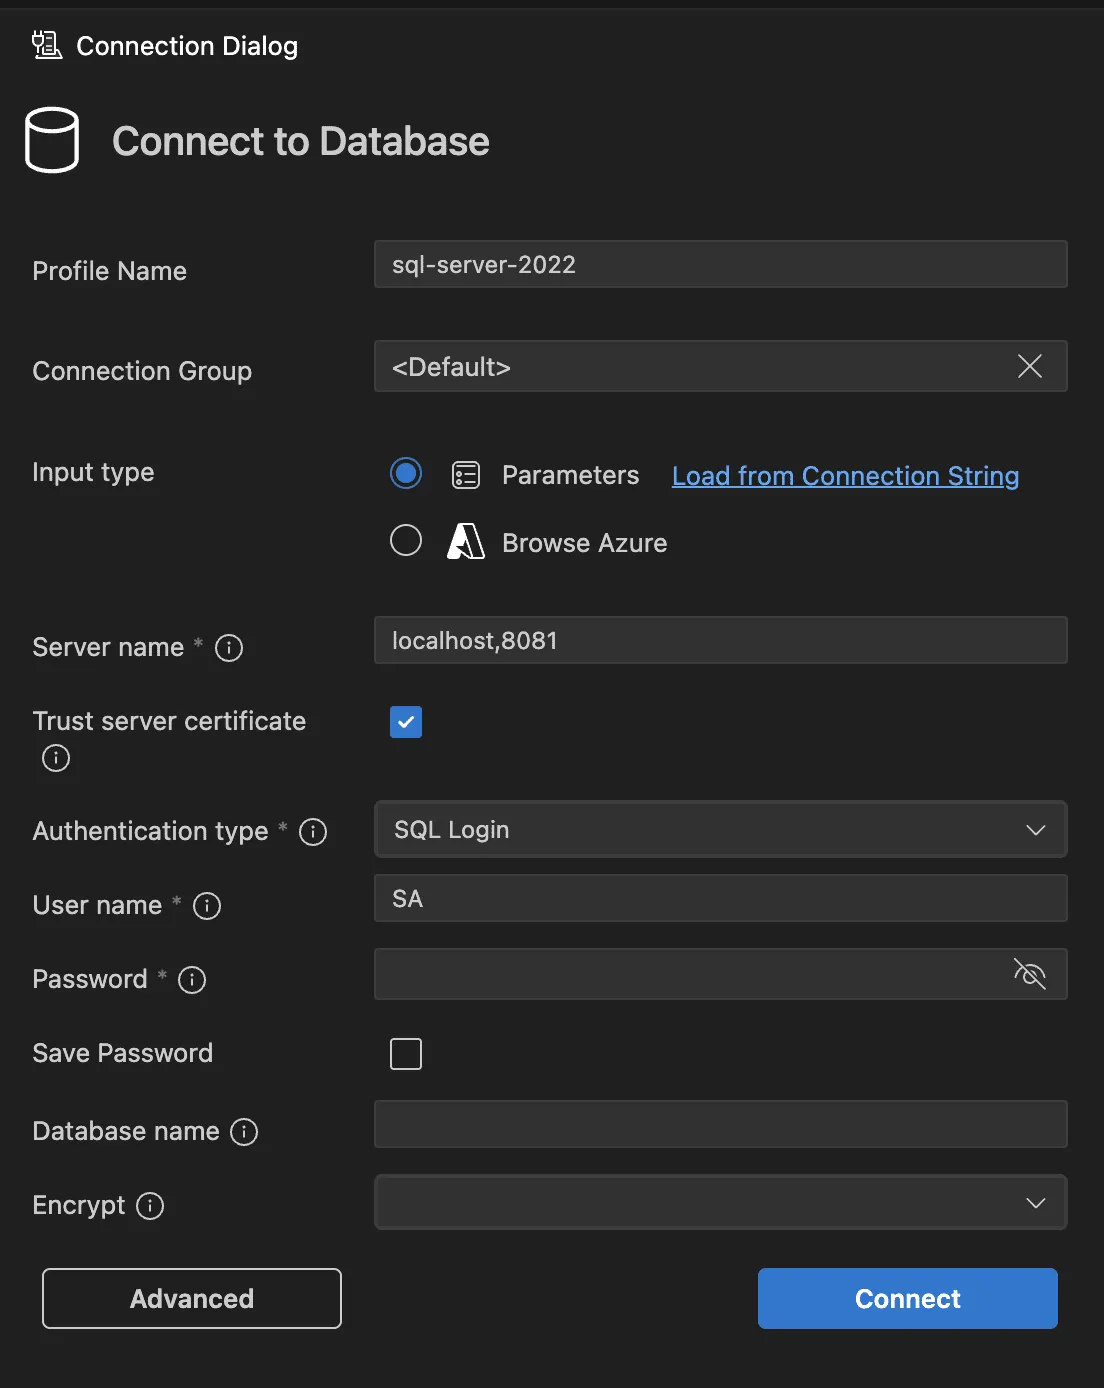
Make sure to go to Advanced Settings and set the port number to the port of the host machine on which you exposed SQL server instance of the container.
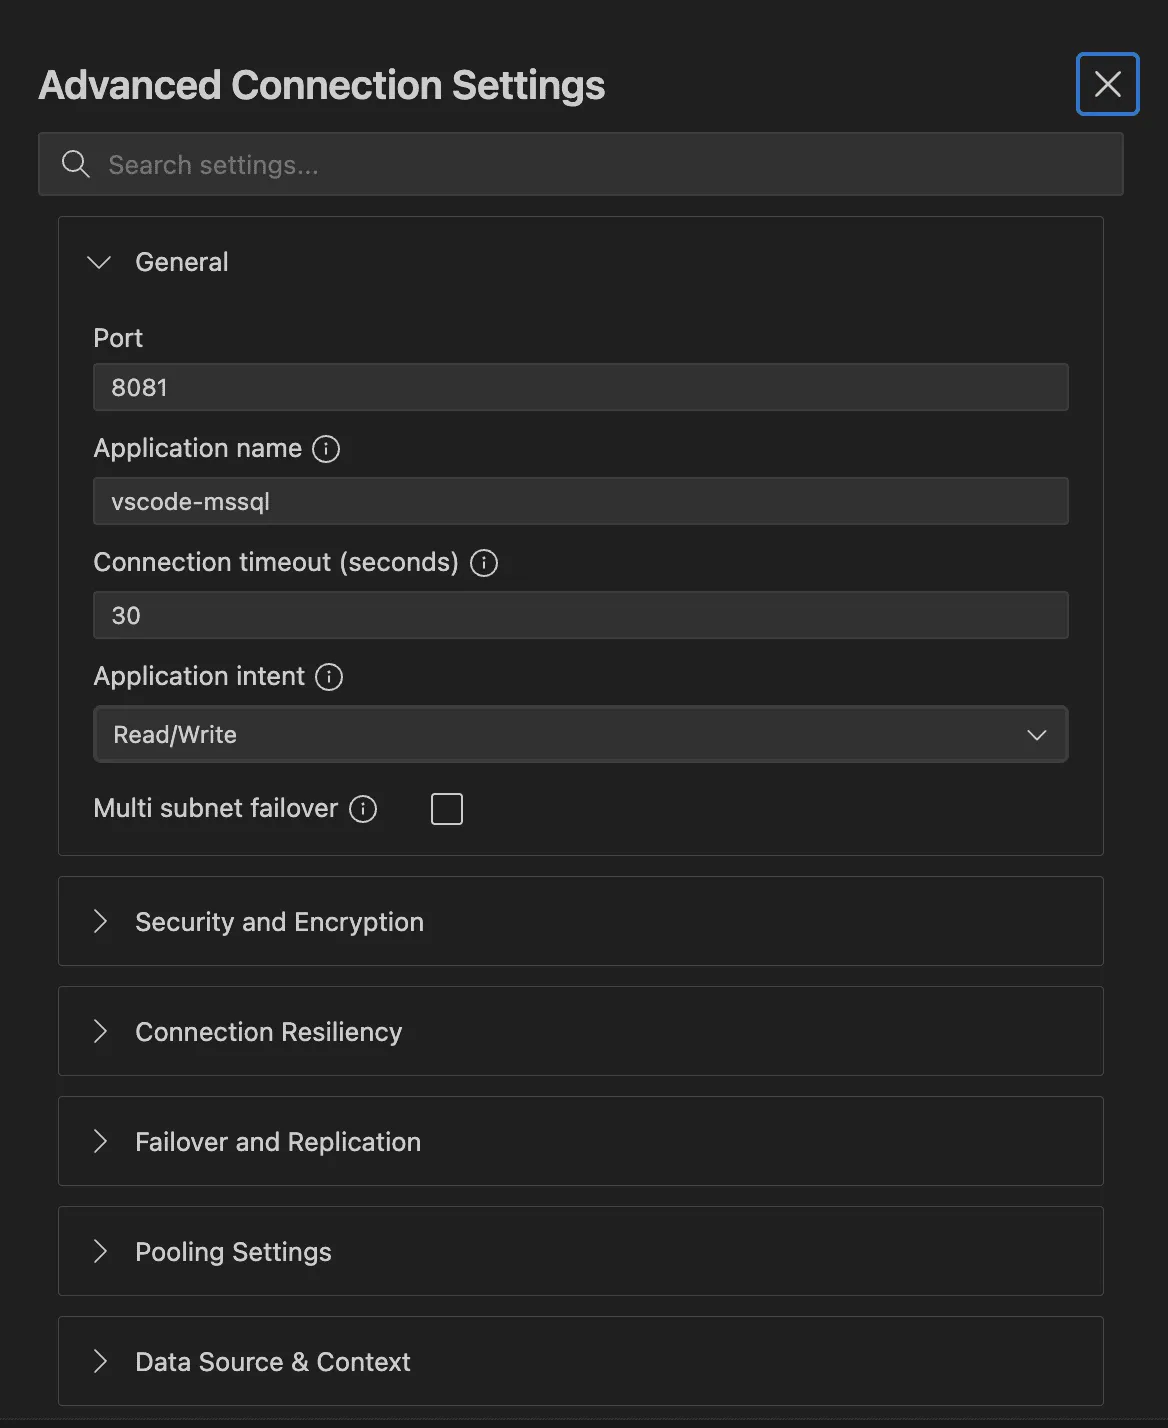
Learn more about the Visual Studio Code extension on Microsoft's documentation.
If you want a full-fledged dedicated database explorer tool, then I would recommend DBeaver which works well with most of the popular and established SQL database engines.
Azure Data Studio is another tool which you can use to interact with SQL Server database, but Microsoft announced that it will be retiring in Feb 2026, meaning it will not receive any feature or security updates past Feb 2026, and Microsoft recommends to switch to Visual Studio Code's mssql extension which I demonstrated earlier in this post.
Backing Up and Restoring the Database
On Windows, it's easy to backup and restore SQL Server databases using SQL Server Management Studio (SSMS), but not so easy on MacOS. The host directories (specifically, <host_dir>/mssql/backups) that I mounted as data volumes to the container while running it, will help to efficiently backup and restore the database.
I am going to backup and restore the database using Transact-SQL queries which can be executed in any database management tool of your choice (the one which is used to connect to SQL Server instance).
Backing Up
To back up an existing database, run the following Transact SQL query:
BACKUP DATABASE [db_name]
    TO DISK = N'/var/opt/mssql/backups/db-name.bak'
    WITH NOFORMAT, NOINIT, NAME = N'db-name', SKIP, NOREWIND, NOUNLOAD, STATS = 10;
GO
Note that the disk path is of the container, but since I mapped it to a host directory path (as a data volume), I can access the backup file on that host directory path as well, for me it's <host_dir>/backups (see 👆 Running SQL Server Image in a Container).
Restoring
If I want to restore a database from an existing backup file (.bak) retrieved from a different environment, I have to put that file in a host directory which is mounted as a data volume to a container directory, in this case <host_dir>/backups which is mapped to /var/opt/mssql/backups inside the container.
Once I put that file in <host_dir>/backups, it becomes instantly available at /var/opt/mssql/backups which will be used to restore the DB using a Transact SQL query.
To restore from an existing .bak backup file, run:
RESTORE DATABASE db_name FROM DISK = '/var/opt/mssql/backups/db_name.bak'
    WITH MOVE 'db_name' TO '/var/opt/mssql/data/db_name.mdf',
    MOVE 'db_name_Log' TO '/var/opt/mssql/data/db_name_Log.ldf',
    REPLACE;
GO
CAUTION
REPLACE keyword will overwrite the existing database (if it already exists). Without REPLACE, you will get a warning to backup the database if it already exists and the query will terminate.
If there are secondary files associated with the db you are restoring, you might end up encountering an error. To overcome that, list all of the associated files with the backup by running:
RESTORE FILELISTONLY FROM DISK = '/var/opt/mssql/backups/db_name.bak';You might get an output similar to the following:
LogicalName         PhysicalName                                                                 ..............
------------------- ---------------------------------------------------------------------------- ---------------
YourDB              Z:\Microsoft SQL Server\MSSQL15.GLOBAL\MSSQL\Data\YourDB\YourDB.mdf          ..............
YourDB_Product      Z:\Microsoft SQL Server\MSSQL15.GLOBAL\MSSQL\Data\YourDB\YourDB_Product.ndf  ..............
YourDB_Customer     Z:\Microsoft SQL Server\MSSQL15.GLOBAL\MSSQL\Data\YourDB\YourDB_Customer.ndf ..............
YourDB_log          Z:\Microsoft SQL Server\MSSQL15.GLOBAL\MSSQL\Data\YourDB\YourDB_Log.ldf      ..............
Consider those secondary files and move them also using the MOVE directive:
RESTORE DATABASE db_name FROM DISK = '/var/opt/mssql/backups/db_name.bak'
    WITH MOVE 'db_name' TO '/var/opt/mssql/data/db_name.mdf',
    MOVE 'db_name_Log' TO '/var/opt/mssql/data/db_name_Log.ldf',
    MOVE 'secondary_file_name_as_in_the_list' TO '/var/opt/mssql/data/secondary_file_name_as_in_the_list.<extension_as_printed_in_the_list>',
    REPLACE;
GO
That's how you can configure, run and manage SQL Server on macOS, but there's a quick way to setup a docker container using the mssql VS Code extension.
CAUTION
NOTE: The following method does not allow much customization such as creating data volumes.
The Quickest Way To Create SQL Server Docker Container
Install the mssql Visual Studio Code extension and while adding a new connection, select Create local SQL Container option.
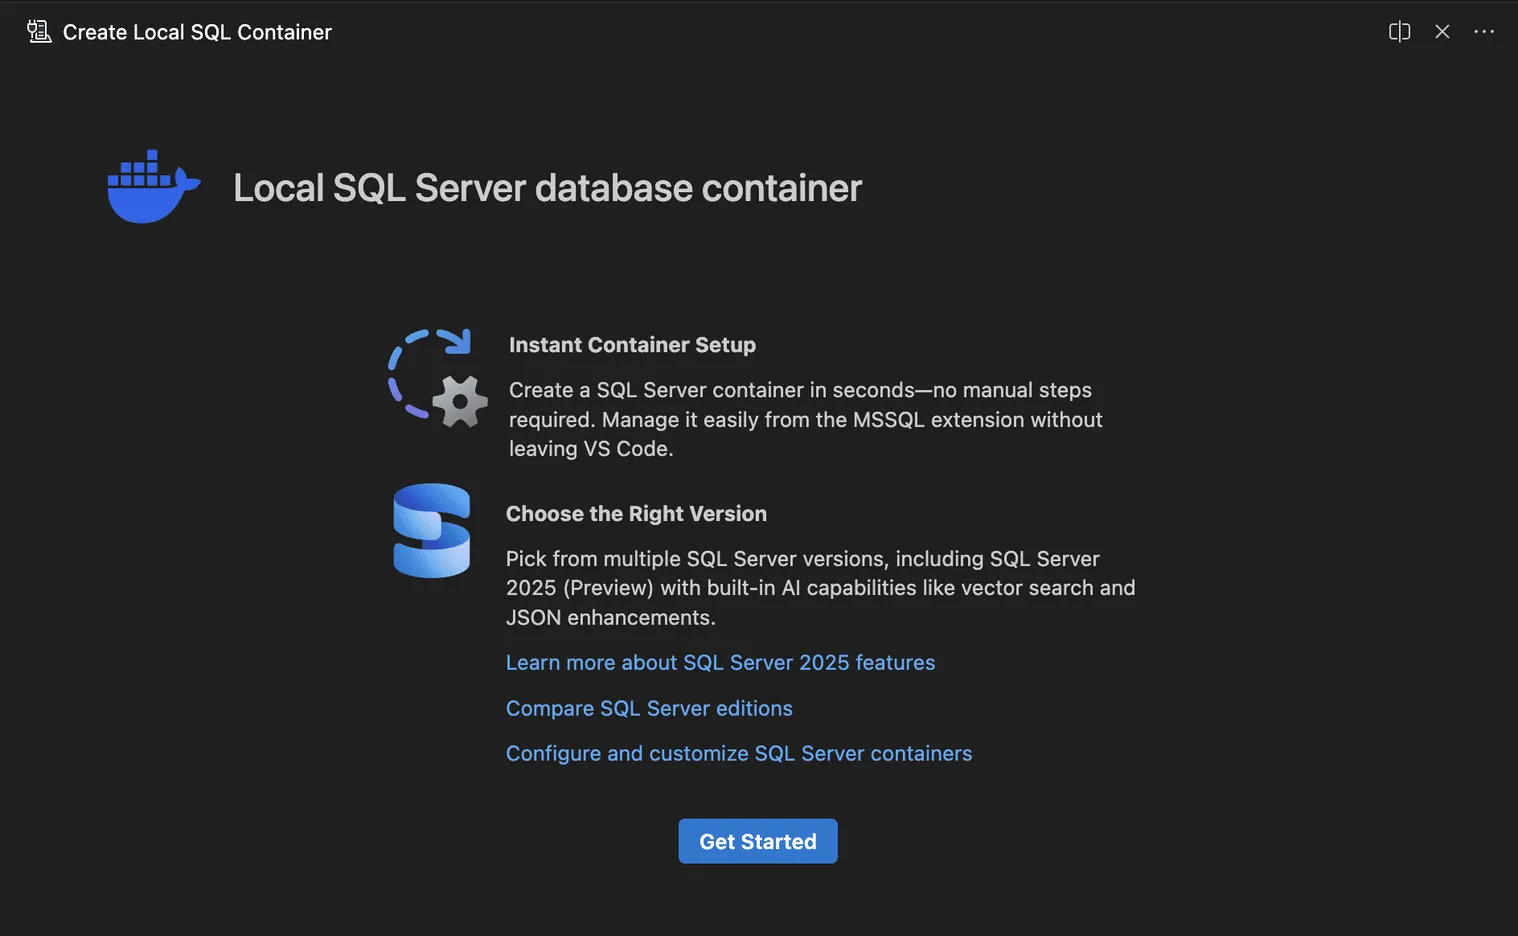
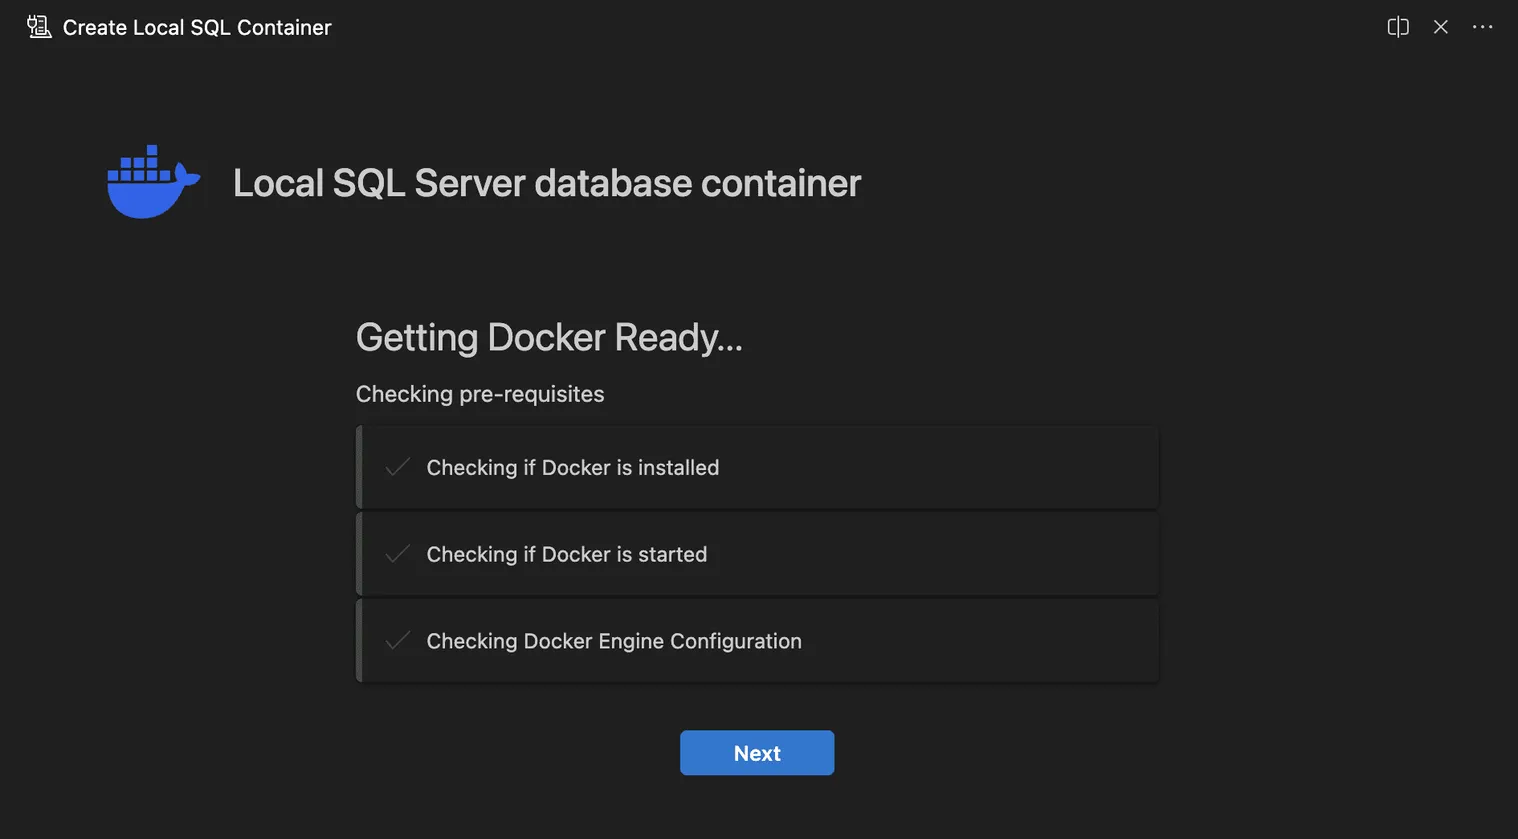
Enter the configuration details to create a local docker container which runs SQL Server. The password you set will be the password for the SQL Server authentication (the SA user password).
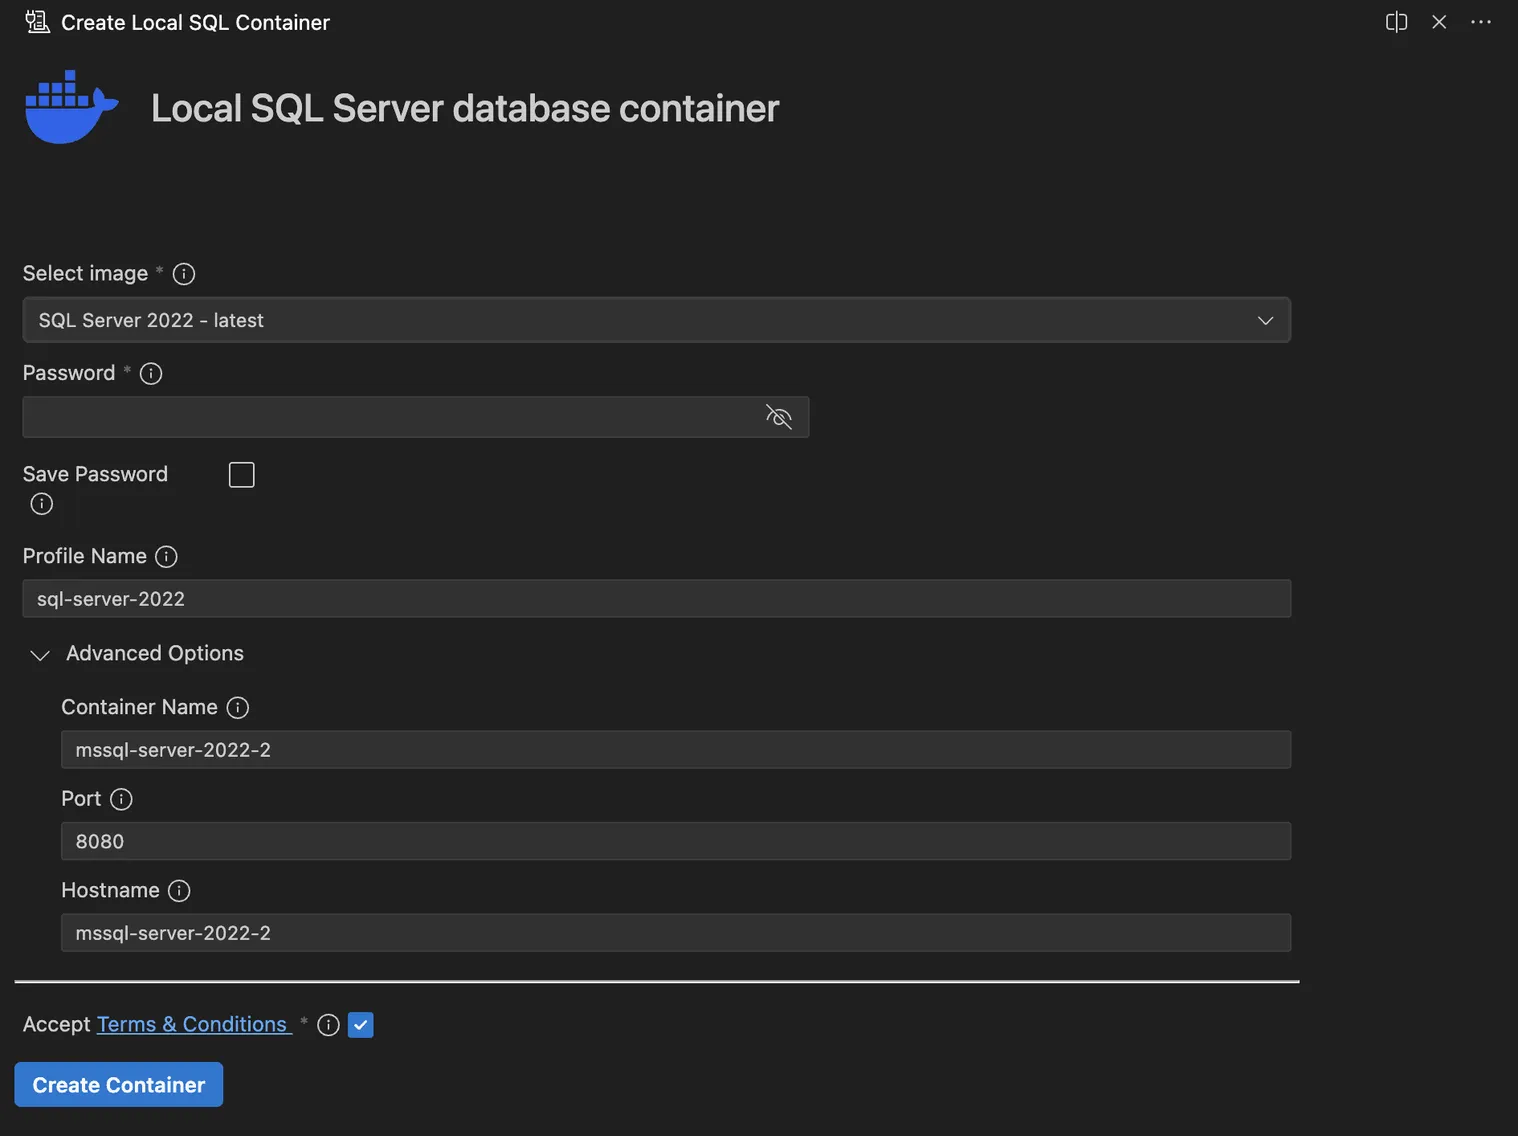
With that being done, a new docker container will spin up and you can verify that by running docker ps or by verifying it from the Docker Desktop dashboard.