How to Use DeepSeek-R1 AI Model: A Comprehensive Guide
Updated
TL;DR
Table of Contents
DeepSeek's AI model "DeepSeek-R1" (a.k.a deepseek-reasoner) is the most talked about AI model at the time of this writing. I recently integrated it with better — a code reviewer github action powered by AI — which I developed during a hackathon.
In this guide, I will walk you through ways in which you can integrate deepseek models in your tools and also talk about structured JSON outputs.
[TLDR — For JSON outputs with stick to a given schema, along with specifying the response_format as json_object and explicitly specifying the word JSON in the prompt, append the following prompt in your use prompt for better and consistent json outputs: "IMP: give the output in a valid JSON string (it should be not be wrapped in markdown, just plain json object) and stick to the schema mentioned here: <json_schema>".]
Using DeepSeek's API
The primary way to use any of the deepseek AI models is to go to their API platform, get an API key and use the OpenAI SDK to make calls to the API.
Pro Tip
DeepSeek's API is compatible with OpenAI SDK (it's available for python and javascript both).
The problem with this is, currently at the time of this writing, DeepSeek's API platform is down (throwing a 503 service unavailable) is up, but they have disabled API recharges for now — you can use your existing balance to use paid models. [UPDATE: DeepSeek has enabled new API subscriptions/recharges now.] And that forced me to go another route which involves OpenRouter — which basically routes your request to appropriate providers for the model you specify.
If you do have existing balance in your DeepSeek account to use deepseek-r1, you can use OpenAI's SDK with your DeepSeek API key and change the base_url to https://api.deepseek.com. Note that the alias for deepseek-r1 is deepseek-reasoner when interacting with DeepSeek's API.
const openai = new OpenAI({
    apiKey: '<deepseek-api-key>',
    baseURL: "https://api.deepseek.com"
});

const result = await openAI.chat.completions.create({
    model: 'deepseek-reasoner',
    messages: [
        {
            role: "system",
            content: '<the-system-prompt>',
        },
        {
            role: "user",
            content: `<user-prompt>`,
        },
    ],
});

const { message } = result.choices[0];
console.log(message.content);
Using OpenRouter
OpenRouter too is compatible with the OpenAI SDK — you just have to change the base URL. That's genius because it makes the adoption rate go high. To use any of the models through OpenRouter, you need to generate an API key from their platform. And, credits need to be loaded for you to be able to use any of the paid AI models.
There's also a free version of deepseek-r1 model, named deepseek/deepseek-r1:free, available on OpenRouter. Good option if you want to just try it out.
Once you get the API key, initialize the OpenAI SDK and implement it as shown below:
const openai = new OpenAI({
    apiKey: '<open-router-api-key>',
    baseURL: "https://openrouter.ai/api/v1"
});

const result = await openAI.chat.completions.create({
    model: 'deepseek/deepseek-r1',
    messages: [
        {
            role: "system",
            content: '<the-system-prompt>',
        },
        {
            role: "user",
            content: `<user-prompt>`,
        },
    ],
});

const { message } = result.choices[0];
console.log(message.content);
The best thing about OpenRouter is if you append :floor to any model name (e.g. deepseek/deepseek-r1:floor), you can get the cheapest price in the market for that model. This is done by sorting the providers of that model. It is the same as setting provider.sort to price.
Structured JSON Output
I was experimenting with the deepseek-r1 model to make it produce an output which sticks to a schema. It seems that you have to do more than just define a response_format as json_object. I got it working by specifying the following as a part of the user prompt:
{
    role: "user",
    content: `<primary_prompt> - IMP: give the output in a valid JSON string (it should be not be wrapped in markdown, just plain json object) and stick to the schema mentioned here: <json_schema>.`,
}
And then specifying the response_format as json_object.
await openAI.chat.completions.create({
    model: "deepseek/deepseek-r1",
    messages: [
        {
            role: "system",
            content: "<the-system-prompt>",
        },
        {
            role: "user",
            content: `<primary_prompt> - IMP: give the output in a valid JSON string (it should be not be wrapped in markdown, just plain json object) and stick to the schema mentioned here: <json_schema>.`,
        },
    ],
    response_format: {
        type: "json_object",
    },
});
Note that the model might generate empty content sometimes according to the official documentation. So, try to implement a retry mechanism to mitigate this problem.
Using DeepSeek in a VSCode Extension
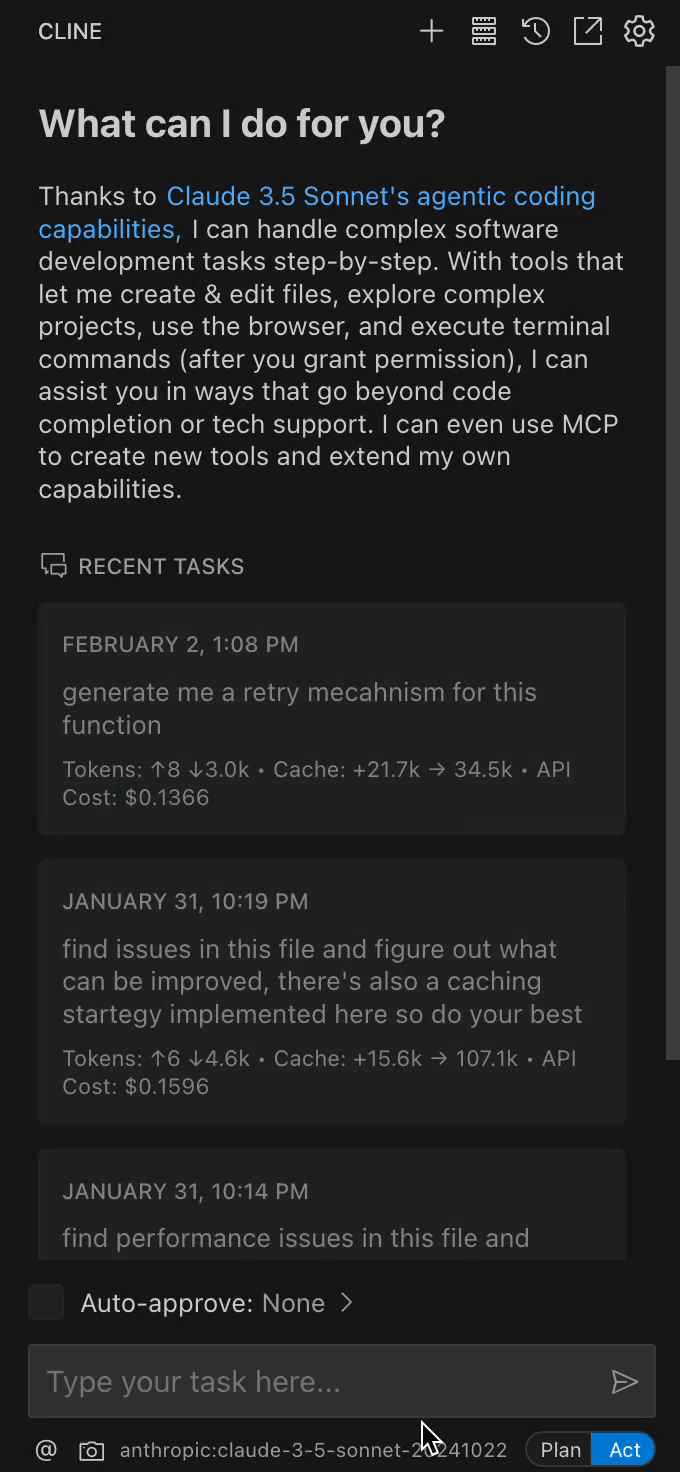
In my opinion, the best VSCode extension you can use deepseek-r1 with is Cline. The most useful thing about this extension is its plan-then-act mode which when in planning mode, gives you suggestions and approaches you can try. And then, when you switch to act mode, it implements and refactors the actual code. I have talked more about Cline in my VSCode extensions 2025 list.
- Install the Cline extension.
- Select a deepseek model (deepseek-reasoner for deepseek-r1) and a provider like OpenRouter or DeepSeek as shown below.
- Provide the API key and start using the extension. 👇
Running it locally
If you have enough computing power to run deepseek-r1 locally, you can do that using Ollama. Here's a quick guide by DataCamp to run deepseek-r1 locally.