Mac Setup For Developers [2026]
Updated
TL;DR
Table of Contents
Setting up a new Mac for development can be a daunting task, especially if you are new to MacOS or don't know where to start. In this guide, I'll tell you about some tools, apps and tips which are essential for a decent developer experience on a Mac.
To keep it simple, I will break them down into categories such as terminals, editors, and other developer tools. But first, let me tell you some Mac settings which I prefer.
INFO
The version of MacOS at the time of this writing is 15.1 (MacOS Sequoia). If you are on a newer version (MacOS 26 Tahoe), the settings may be different. This article is updated with MacOS 26 Tahoe settings as well.
MacOS Settings #
Desktop & Dock > Dock
- macOS 15 Sequoia
- Position on screen: Left
- macOS 26 Tahoe
- Dock position on screen: Left
- Automatically hide and show the Dock: On
- macOS 15 Sequoia
Desktop & Stage Manager
- Show Items
- On Desktop: Off
- In Stage Manager: On
- Show Desktop
- macOS 15 Sequoia
- Click wallpaper to show desktop: Only in Stage Manager
- macOS 26 Tahoe
- Click Wallpaper to move windows out of the way, revealing your desktop items and widgets: Only in Stage Manager on Click
- macOS 15 Sequoia
- Stage Manager: Off
- Mission Control: Turn everything on
- Show Items
Displays
- True Tone: Off
If you don't want the new liquid glass effect on macOS 26 Tahoe, go to Accessibility > Display > Reduce transparency and turn it on.
Package Manager - Homebrew #
Homebrew is the all-in-one package manager for MacOS. It can also install apps and fonts using homebrew cask. Installing it is the first thing you should do when setting up a new Mac.
Source: brew.sh
Install script:
/bin/bash -c "$(curl -fsSL https://raw.githubusercontent.com/Homebrew/install/HEAD/install.sh)"RECOMMENDED
Do you know you can use multiple paid apps on macOS with just one subscription? Yes, you can. With Setapp you can get access to curated apps with just one subscription.
Version Control - Git #
To install git, I can use Homebrew and it works like a charm:
brew install git
Source: git-scm.com
I recommend configuring and adding an ssh key for dealing with repositories on GitHub. Refer the official documentation for more information.
RECOMMENDED
Pro Git is a great book for developing a solid understanding of Git and perhaps mastering it. And it's free.
Terminal #
The default terminal shell on MacOS is zsh and it's good, but it's even better with frameworks such as oh-my-zsh.
1. Oh My Zsh
True power of oh-my-zsh comes with its plugins. The most popular ones are:
Source: github.com/ohmyzsh/ohmyzsh
- zsh-autosuggestions - Provides auto-complete suggestions using command history.
- zsh-syntax-highlighting - Very helpful in catching syntax errors.
- git - Useful aliases and functions for git.
- git-prompt - Displays metadata related to the current git repository branch and its status relative to the remote branch.
- you-should-use - Suggests available aliases which you should use instead of the command you're currently using.
I recommend installing all of these plugins via oh-my-zsh and adding them to your
~/.zshrcfile. You can refer to the respective plugin documentation for more details.plugins=(git git-prompt zsh-autosuggestions zsh-syntax-highlighting you-should-use zsh-bat)
Oh My Zsh also provides a variety of themes to choose from but I prefer the Powerlevel10k theme by romkatv.
2. Warp
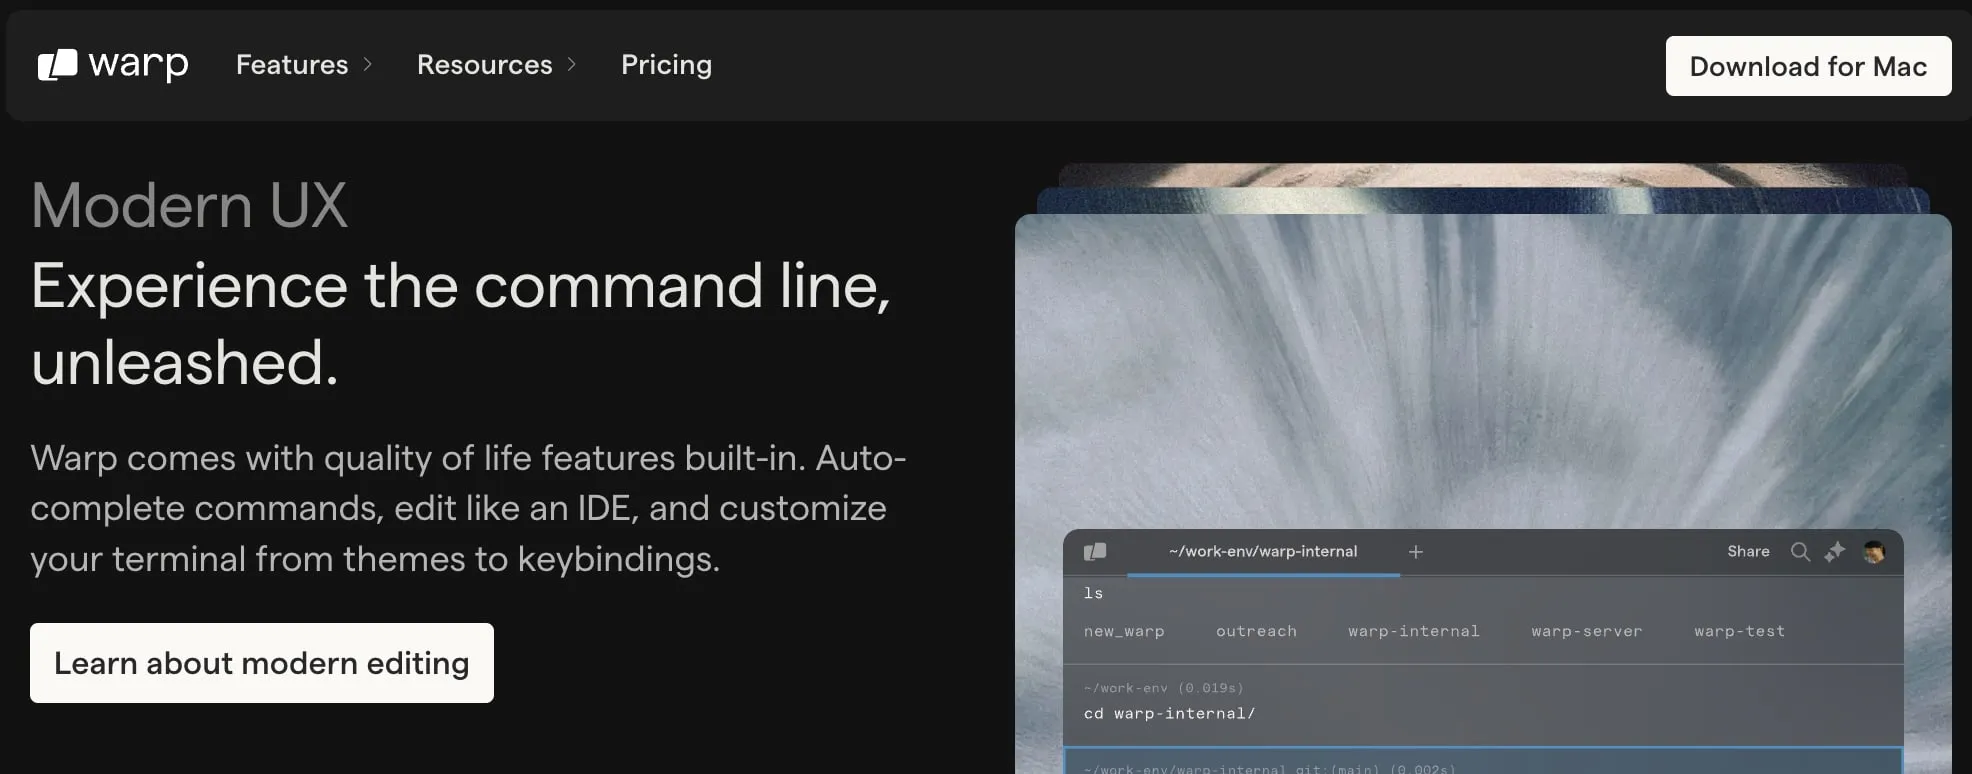
If you don't like the look and feel of the default terminal in macOS even after configuring oh-my-zsh, then you can have a look at warp.dev which is a terminal with the most modern look you can ever get in a terminal. Integration with AI is one of the things which you can use it for.
Source: warp.dev
brew install --cask warp3. Ghostty
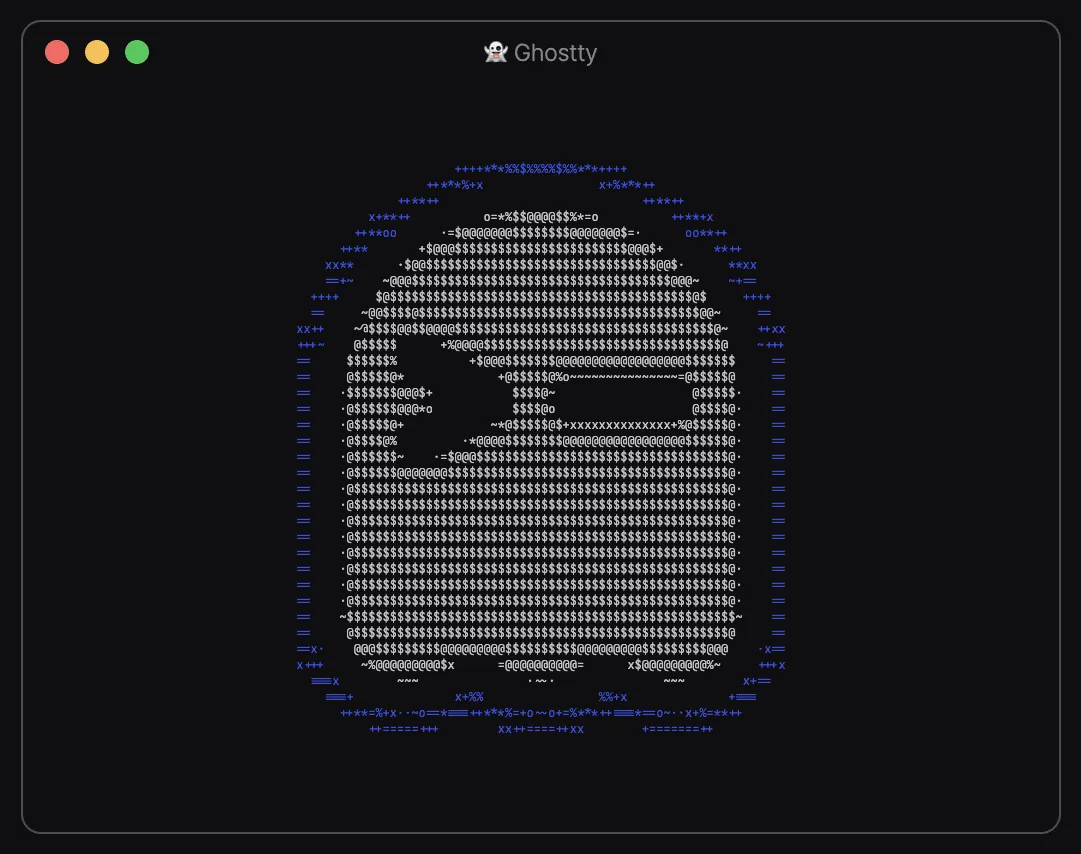
Ghostty is a fast, native terminal emulator developed by Mitchell Hashimoto. It's written in Swift for macOS and in Zig for Linux. It's currently not available for Windows.
It just works.
4. iTerm2
There's also iTerm2 which is a terminal emulator for macOS. If you are a power user and love legacy terminals, then this one's for you.
Source: iterm2.com
brew install --cask iterm2Editors / IDEs #
1. Visual Studio Code
VS Code is still my go to editor. I prefer it because of its simplicity and extensibility. Part of the reason why I prefer it is because I am in a way habituated to it and it does a good enough job of meeting my developer needs.
2. Antigravity
Antigravity, a VS Code fork by Google, uses the tech of Windsurf (a company with which it made a licensing deal) of $2.4 billion. It focuses heavily on agentic workflows by spinning up background agents to complete tasks. It can also spin up browser instances to test the implemented changes. Antigravity is in public preview currently and offers some of the SOTA models such as gemini and claude family of models free of cost (with rate limits).
Pro Tip
3. Cursor
AI it is. Cursor, a VS Code fork, does a great job in fulfilling the AI needs which lack in VS Code. With it's similarity with VS Code, users can easily switch between these editors and still get the work done efficiently. It's my go to editor for AI stuff.
4. Zed
One of the things I love about Zed is how performant it is. VS Code can sometimes feel sluggish especially when you have a lot of extensions. Zed does all of those things natively, in a fast and efficient way - mainly because it's written in Rust.
Productivity #
1. Raycast
Many people coin Raycast as a spotlight replacement but it's more than that for me. It can do shortcuts, clipboard, search and installation of apps through homebrew. I have still kept the spotlight shortcut as "Command + Space" and use Raycast with the hotkey "Option + Space".
2. Obsidian
I kind of switch between Notion and Obsidian for note taking. I find Obsidian very snappy and easily accessible when I have to quickly jot something down, while Notion is for when I want to retain or log something for later use or reference. But, both are great in my opinion.
Pro Tip
Bear is also a good choice.
3. Maccy - Clipboard Manager
Pro Tip
macOS 26 Tahoe revamped spotlight search and finally introduced the clipboard feature. So, if you are on macOS 26 or later, you might not need this app.
If you don't want to use Raycast's clipboard history (which I don't), try out Maccy which is a simple clipboard manager. It is easily accessible via shortcuts (which you can configure) and is open-source. It requires macOS Sonoma 14 or higher.
Browsers #
I use Chrome for development and day-to-day work, Safari for Netflix, Brave for private browsing, and Arc just to feel nice.
Cleanup #
1. Mole
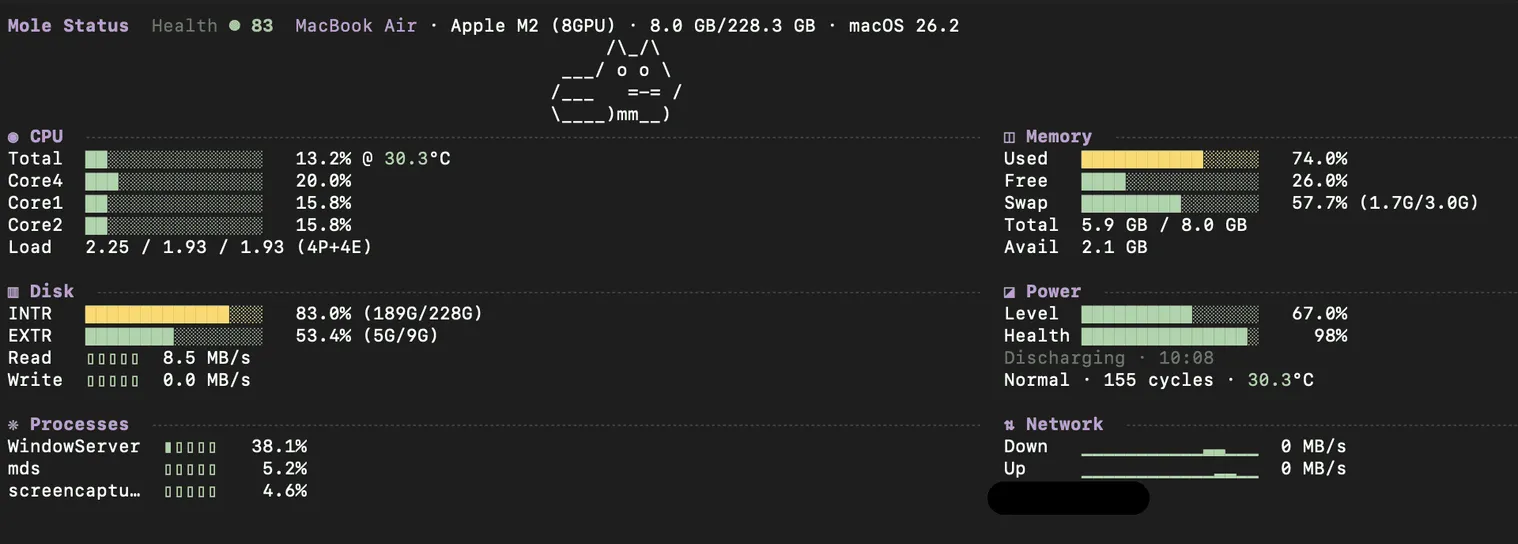
Mole is a CLI tool which acts as a deep cleaner for your mac. It combines multiple tools into a single package and lets you uninstall apps, deep clean system as well as monitor and analyze it for performance. It's the best CLI tool you can have on a mac. Saves you a lot of space and time.
2. AppCleaner
Uninstalling apps on MacOS is not as simple as you think. Even if you uninstall an app from your system, some residue files are always left behind. AppCleaner is for that. It lets you completely wipe out any data associated with the app you want to uninstall.
If you want more features, try Mole instead of AppCleaner as it gives you more features and control out of the box.
Miscellaneous #
1. Bitwarden - Password Manager
I personally use Bitwarden as a password manager and I have no complains so far. What's interesting is it's open-sourced and can be self-hosted. Being open-sourced also means it's transparent and audited by the community. Trust me, it's a pain in the neck to manage passwords for all of the random accounts we developers create to try different things, and bitwarden makes it easy for you.
2. Syncthing
Syncthing is by far the best file sharing tool I have ever used. You can literally sync folders between two machines (be it Android, macOS, or Windows) seamlessly. If you have another system at a remote location, it can be really handy to sync project folders or work files using a local network or an internet connection. Again, it's open-sourced and trusted by the community.
3. System Color Picker
System Color Picker by Sindre Sorhus is the most useful tool for web designers and developers. It's open sourced and is a native color picker application for macOS which lets you pick colors from anywhere on the screen. It's a must have for convenience.
4. Ice
CAUTION
Ice won't work on macOS 26 Tahoe (macOS 26 made significant changes in APIs), a stable release is in the works, but there are several beta releases (0.11.13-dev.x) you can try.
Once you have a lot of applications which use MacOS' menubar for status display or accessibility, the menubar can overflow with those application icons and hide some icons behind the notch (if your Mac has one), especially when using applications such as Chrome (has a lot of menu options, eating up space of the menubar icons).
One way is to keep less (default) icons in the menubar (besides the control center) by going to Settings > Control Center > Menu Bar Only/Other Modules — but that just works for native MacOS' icons. For third-party application menubar icons? There's no option to reorder/hide or access hidden icons in MacOS.
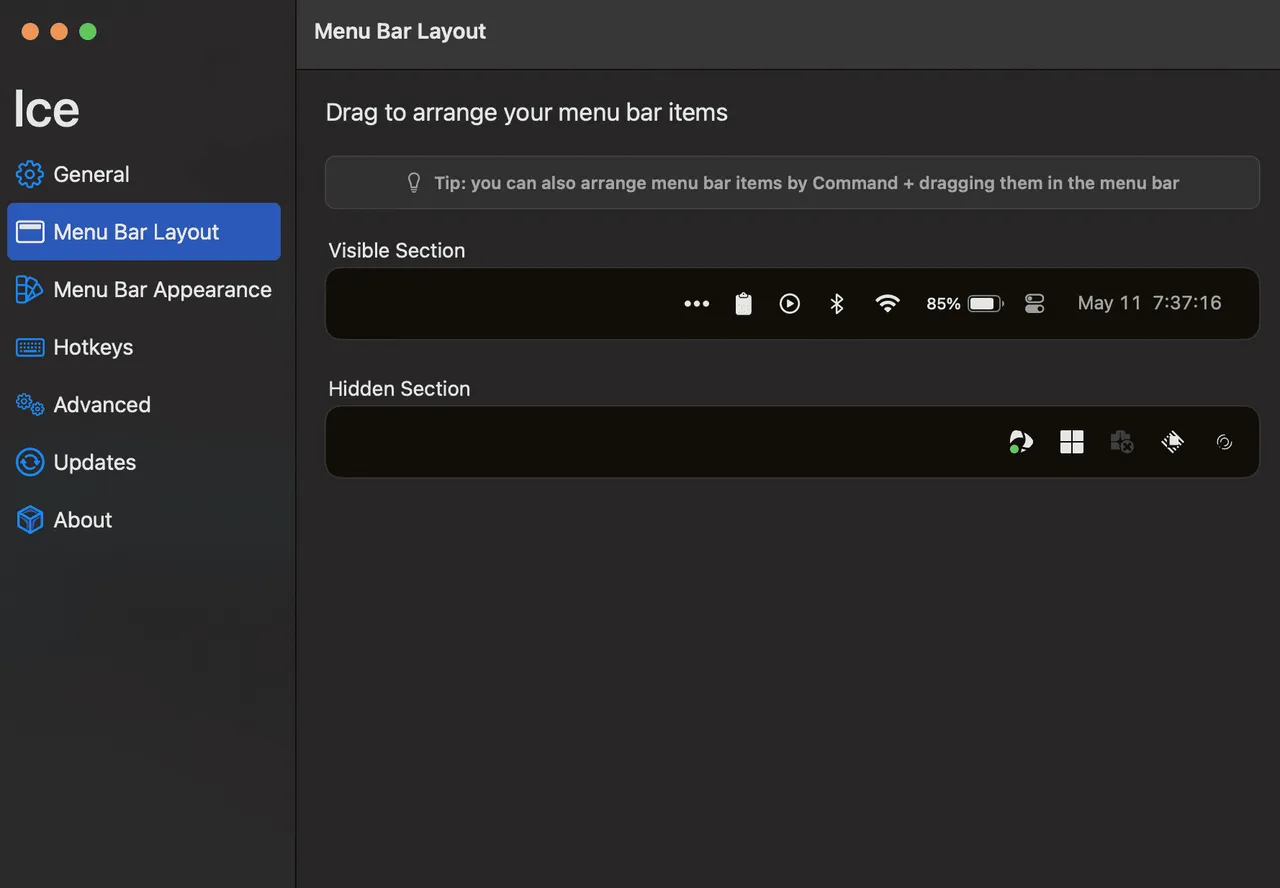
I really want a little ellipsis which lists all of the hidden MacOS menubar icons in a dropdown list below the visible ones, and Ice does exactly that.
Install Ice from https://icemenubar.app/ and you will see a dot/ellipsis collapsing all the menubar icons. You can show hide them by clicking on the ellipsis/dot in the menubar, but where it gets really interesting is that you can change the appearance of the menubar completely. Go to Ice Settings by right clicking on the menubar, and then to the Menu Bar Layout tab.
This list is evolving. If you have any suggestions, please let me know. Here's an in-depth mac setup video by wesbos for power users: