Deploying React App to Netlify
Updated
TL;DR
A react app is a single page application which means that there's only one document i.e. index.html file which is updated using javascript as per the requirement of the user.
Let's see you how you can deploy a react app on netlify from an existing git repository of yours.
RECOMMENDED
Want to master React and get a deep understanding of it's fundamentals? This book by Robin Wieruch is a must read.
Tutorial #
- Create a
netlify.tomlfile at the root of your react application and add the following rule to it.
[[redirects]]
  from = "/*"
  to = "/index.html"
  status = 200
The above rule is applicable if you have multiple routes and have used libraries like
react-routerin your project.
What we are doing here is that we are telling netlify to redirect all the routes to our index.html file with a status code of 200 because our application is built with react and it is a single page application. We already discussed what an SPA is at the very beginning of this tutorial.
Recommended ✨
Set up an account on netlify if you haven't already.
Go to the
sitestab and add a new site.Select
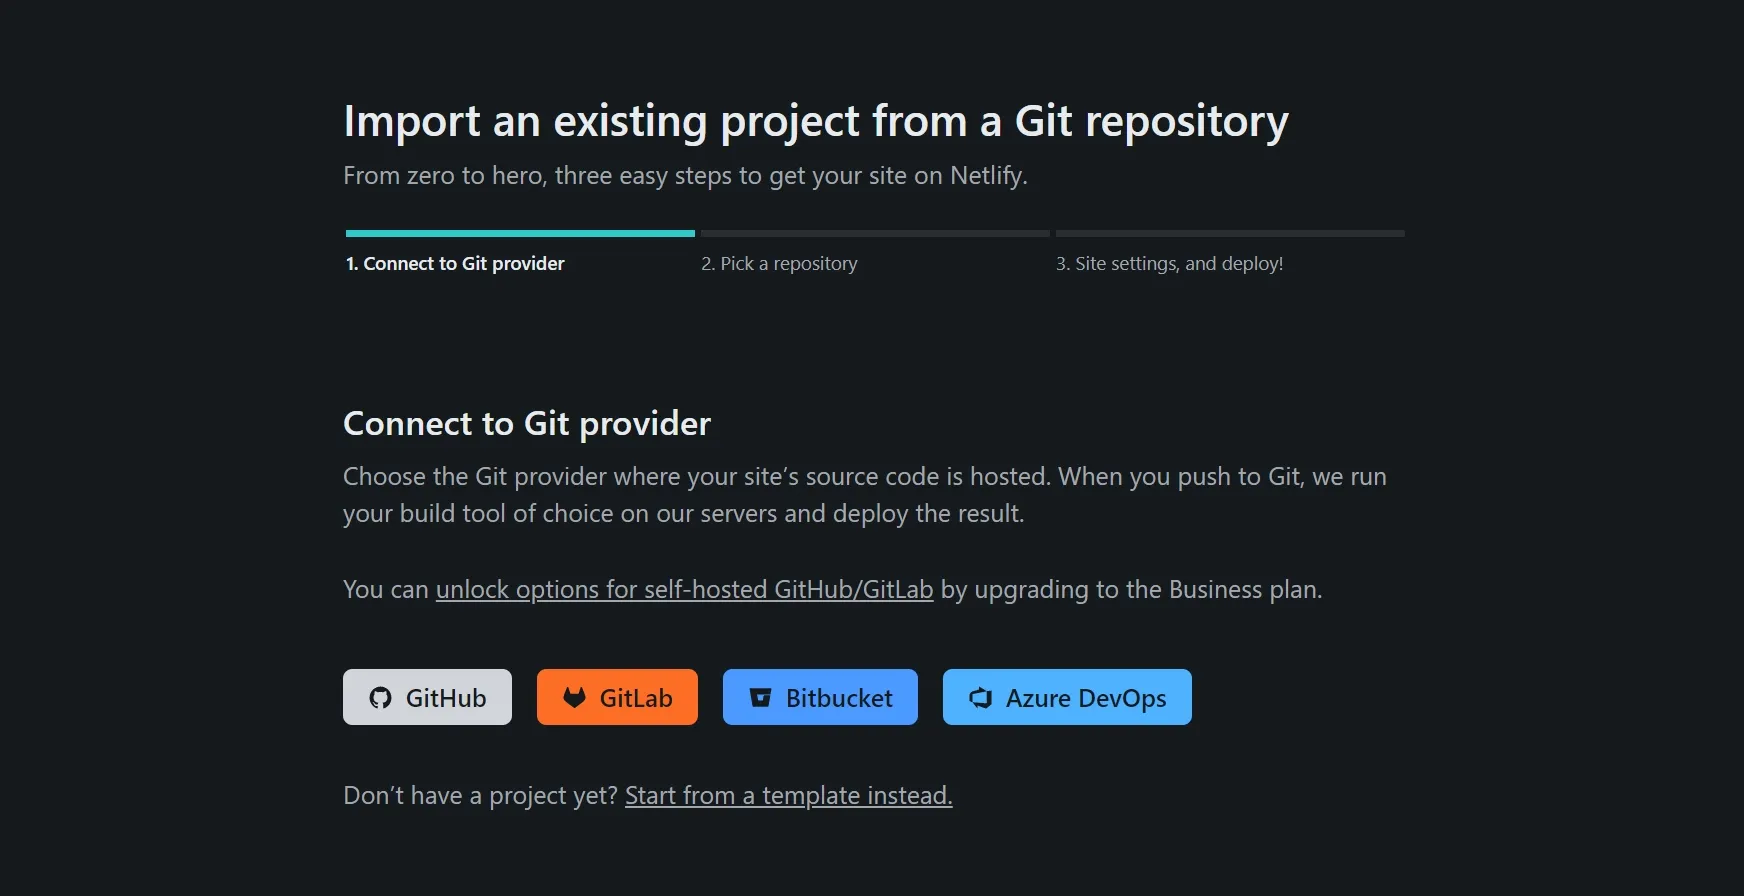
import an existing projectfrom the dropdown menu.You will see a number of providers from which you can import your project.

Importing an existing project
Authenticate and select a repository.
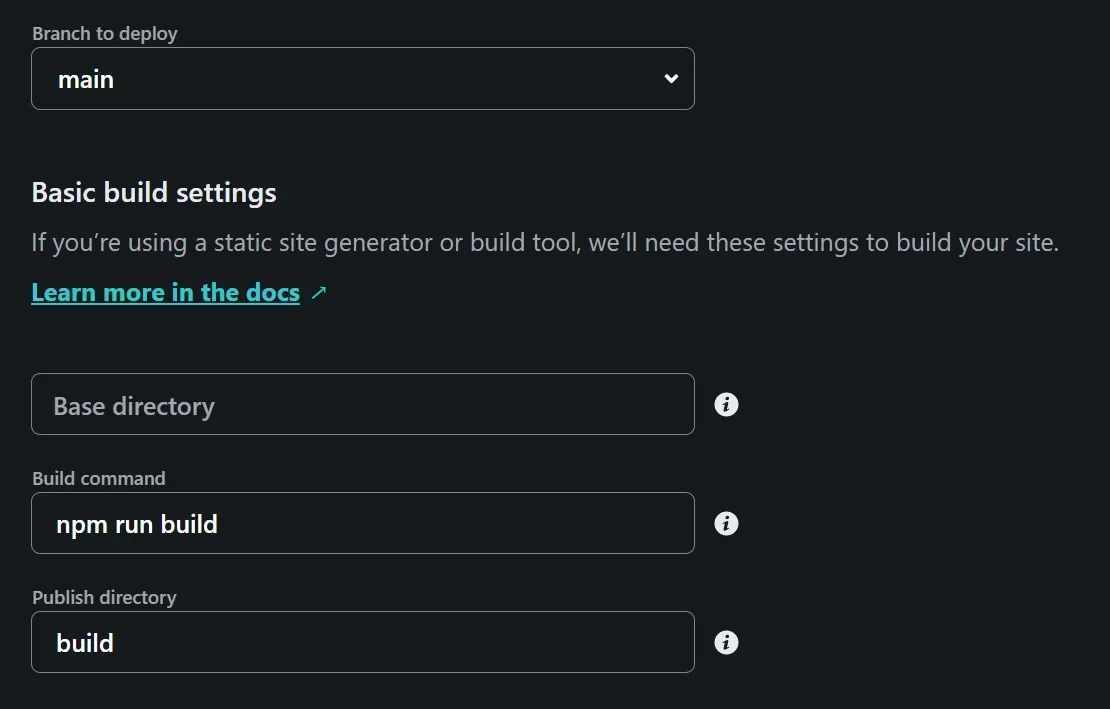
Modify the default deployment configuration as per your requirement.

Deployment Config
If required, you can also add
envvariables.Finally, click on
deploy siteand your site should be deployed.
Here's a blog post on how you can deploy an express app to vercel!